Adobe has finally made a big change to the Develop workflow, and it’s simply awesome. Let’s get into it.
PS: Our Lightroom course material is also updated with this change. We teach you all you need to know about Lightroom and our recommended photography workflow in only four hours. More details here.
New color profiles
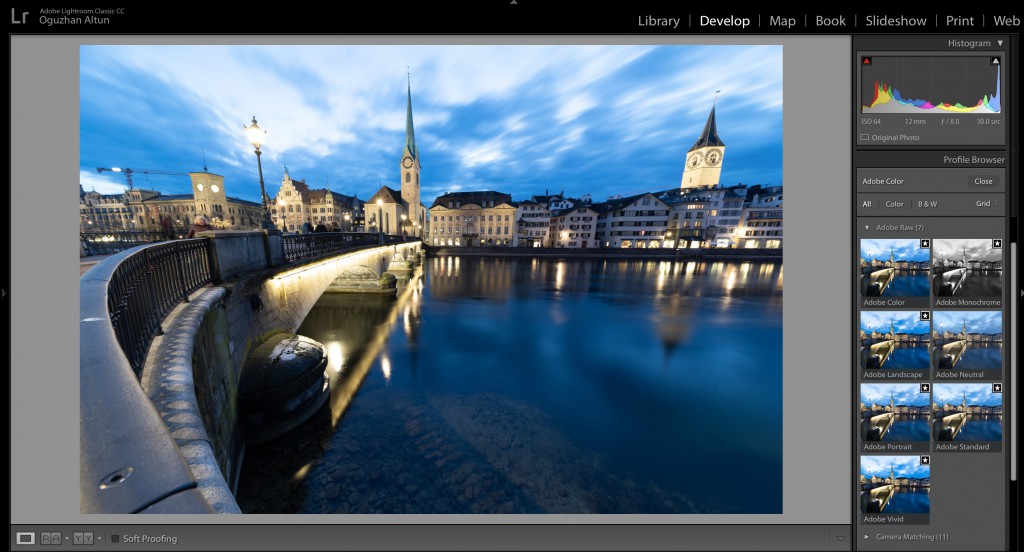
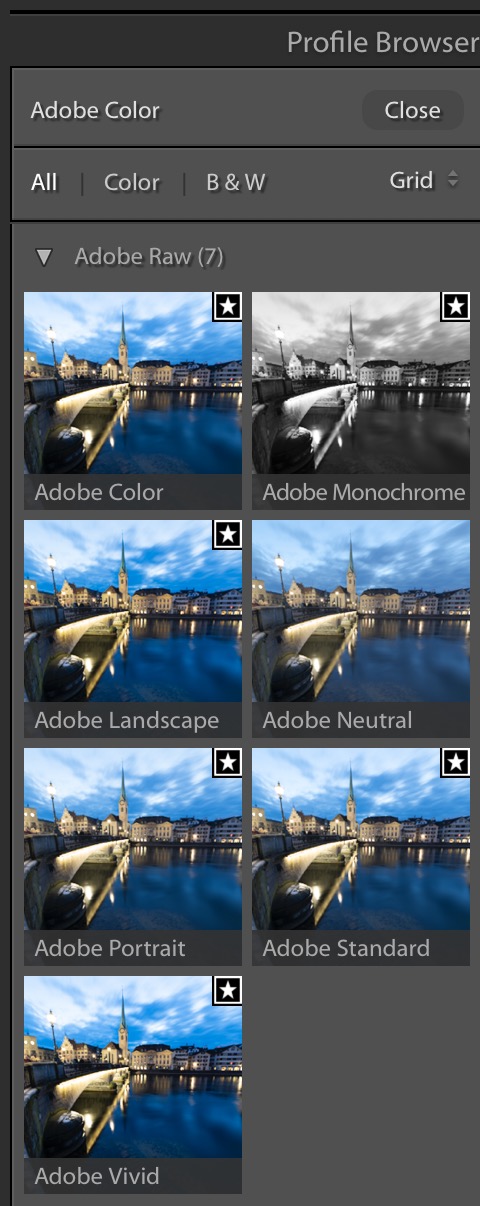
Remember the „Adobe Standard“ profile that you almost never touched? This is the „profile“ that Adobe uses to convert your RAW photo into an image that is supposed to be a good start for editing. The problem with it? It’s just boring.
Adobe has now realized both the opportunity and the need to make this a more important, robust, and useful feature in Lightroom.
The new feature, now called, „Profiles,“ moves to the top of the Basic panel in order to make it more usable. Given Lightroom’s updates to the feature, this move makes sense and will be the first place you start when editing a photo.

Adobe moved access to the profiles to the right at the top of the Basic Panel (where I believe they belonged from the start). It makes total sense to start your editing by deciding on which profile to use.
Today we have three new categories of profiles:
- Adobe Raw profiles
- Camera Matching Profiles
- Creative Profiles
The default profile for our RAW images called Adobe Color, and it’s a much more pleasing starting place. It is noticeably better without making your image look overly processed. It’s not a night-and-day difference from Adobe Standard (and that’s a good thing — if it looks a lot different, it wouldn’t be an accurate rendition of the RAW image your camera captured), but it’s certainly a better-looking more modern interpretation of the RAW image.
Camera matching profiles will allow you to get similar colors to what you see from the jpg’s and the image in the back screen of your camera (remember how you choose vivid / B&W etc on your camera)?
The creative profiles should be a great start point for more color editing, especially for landscapes.
An additional bonus: The Dehaze slider is finally where it belongs.
It’s moved from the Effects panel to the Basic panel (right below Clarity). No more “out of sight, out of mind” for this brilliant slider. Perfect if you have „mist“ in your photo and want to remove it with a single slider.
If you have any questions, feel free to call us at 0800 800 472. Enjoy this new update!
Osan Altun for
Swiss Photo Club

